
After sewing the sections of the feet patterns together, I used hot glue to attach the skin to the foam making up the form of the feet. On the left you can see the result of this, and on the right is a skin that hasn't yet been attached to the back toe. On the underside of the foot, the fabric is folded under and cut to lay flat, to provide a good base for the foot sole to be attached to with contact adhesive. This sole is a simple EVA foam mat which offers grip and cushioning for the wearer whilst protecting the feet by raising them slightly off the ground and away from dirt. This type of mat is often marketed as 'anti-fatigue flooring' because it is cushioning and bounces back well. It is also incredibly light making it a good material to use on the bottom of foam mascot-style feet.


I was initially planning to cover the defined feathers on the wings with fur, but I didn't want to lose all the detail I'd carved into them, so instead chose to cover them in light grey felt, This was surprisingly time consuming as I was working without a pattern, just folding and gluing then cutting as I went, but the end result is neat and looks right. I highlighted the feathers with white acrylic paint to add visual interest.


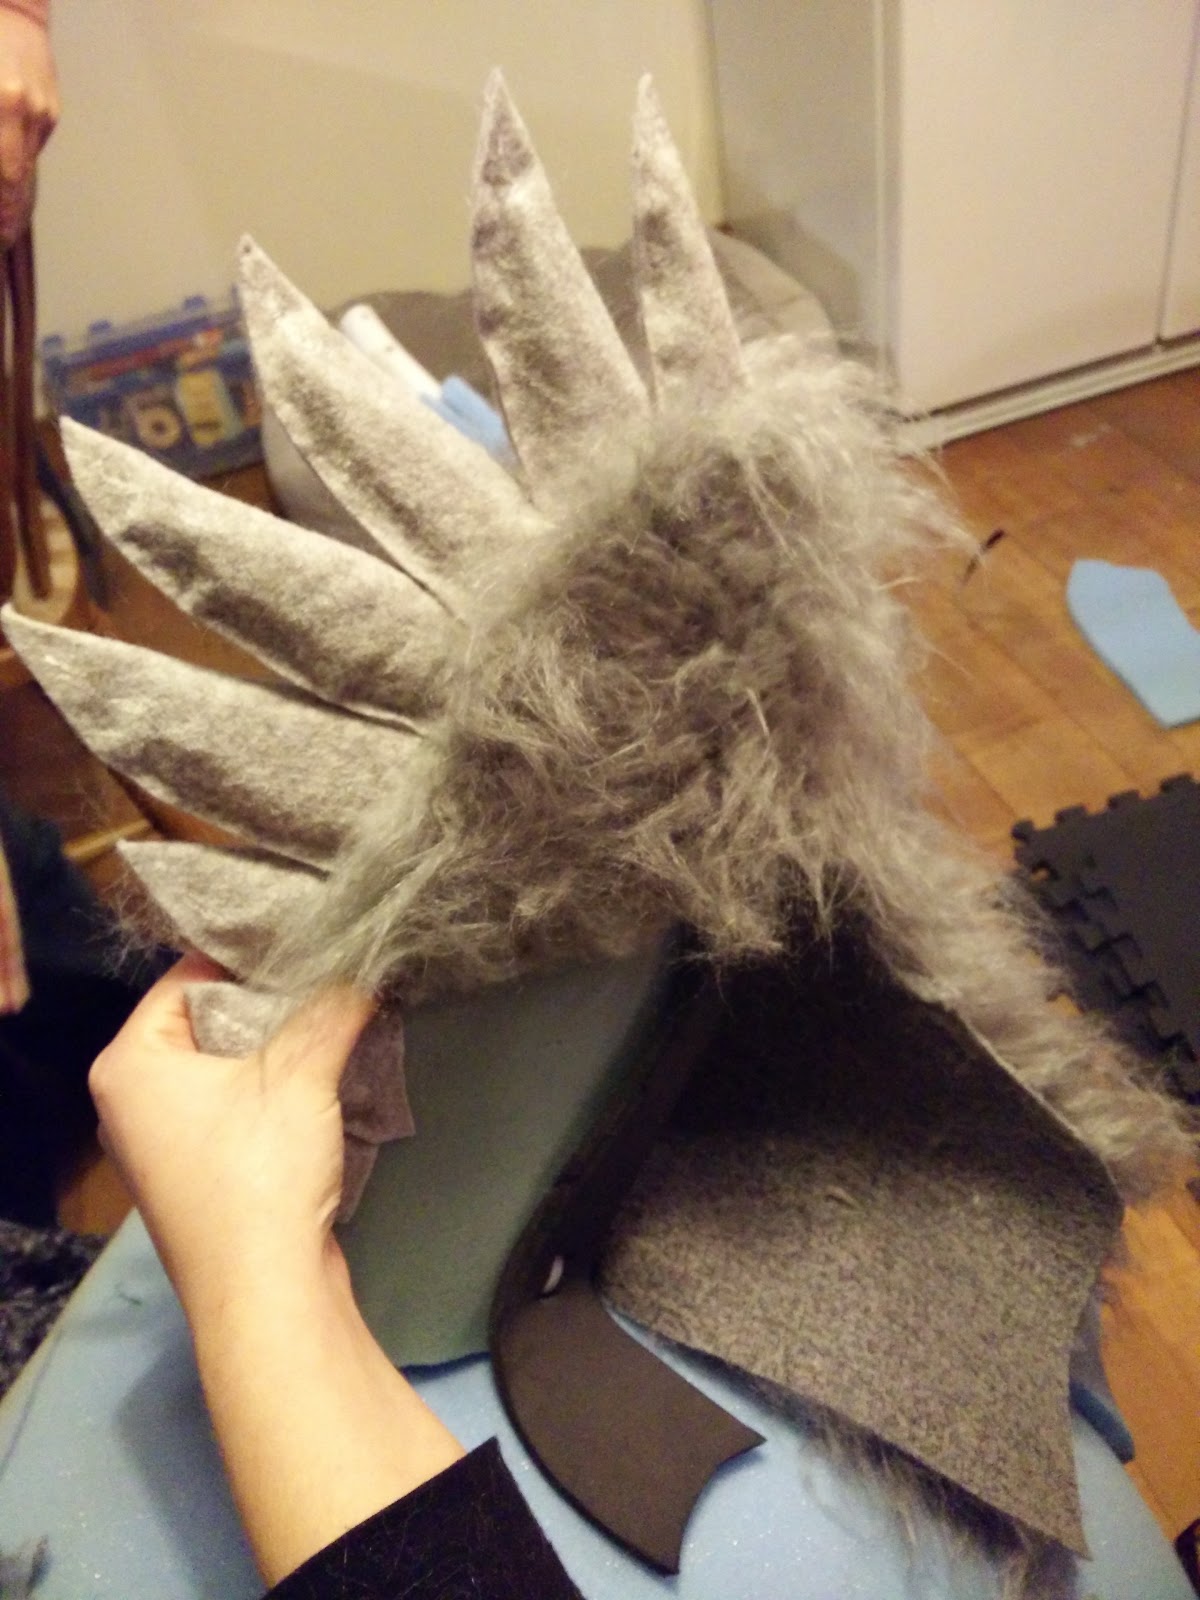
I also added fur to the wings by only making a very loose pattern, and then contouring and cutting the fur around the wing as I folded it. This was fast and neat, however the added weight of the fabric on the light foam wings made them droop slightly. I found a simple solution to this in adding a webbing strap which attached to each wing and then lifted them across the back. A happy side effect of this was that it also provided a very simple way of making the wings flap. I sewed a metal ring onto the webbing so that the user can find the control for the wings easily and animate them without having to look for it - it's easy to find the hard metal amongst all the soft fur and foam.

I painted the feet using dry brushing of acrylic paint, first starting with a warm yellow to add depth and colour to them and then stippling orange for more texture. This is how the feet looked after I finished painting one of them, and before I used a simple ladder stitch to sew the claws on.

Painting the head was a pleasure and I referenced both my concept art and other research images of the Dodo's face and colouration. After sanding and priming the head I started building up layers of tones in warm yellows, oranges and browns to produce an organic, mottled colour palette that compliments the colour of the feet and contrasts pleasantly against the greys and creams of the fur.


Adding the eyes to the head was really exciting and I heavily referenced the pigeon's eye in it's stylisation, just making the pupil bigger to increase the approachability of the character. You can see what a difference there is between the two images below just from adding a couple of layers of gloss varnish to the eyes - it really brings them alive and makes his personality shine.


The last photo I have of the big bird before he is moved out to the university campus. It has been a very odd experience having to make a Dodo in a house instead of a workshop, but a lack of suitable clean space needed to do so combined with limited open hours university offers made it favourable for my patterns of working on this project. Thankfully he was very easy to transport, even if he did have to travel in the car with a duvet cover over his head to prevent any scuffs on the journey!

No comments:
Post a Comment