Thursday, 5 May 2016

The Big Finish

After sewing the sections of the feet patterns together, I used hot glue to attach the skin to the foam making up the form of the feet. On the left you can see the result of this, and on the right is a skin that hasn't yet been attached to the back toe. On the underside of the foot, the fabric is folded under and cut to lay flat, to provide a good base for the foot sole to be attached to with contact adhesive. This sole is a simple EVA foam mat which offers grip and cushioning for the wearer whilst protecting the feet by raising them slightly off the ground and away from dirt. This type of mat is often marketed as 'anti-fatigue flooring' because it is cushioning and bounces back well. It is also incredibly light making it a good material to use on the bottom of foam mascot-style feet.


I was initially planning to cover the defined feathers on the wings with fur, but I didn't want to lose all the detail I'd carved into them, so instead chose to cover them in light grey felt, This was surprisingly time consuming as I was working without a pattern, just folding and gluing then cutting as I went, but the end result is neat and looks right. I highlighted the feathers with white acrylic paint to add visual interest.


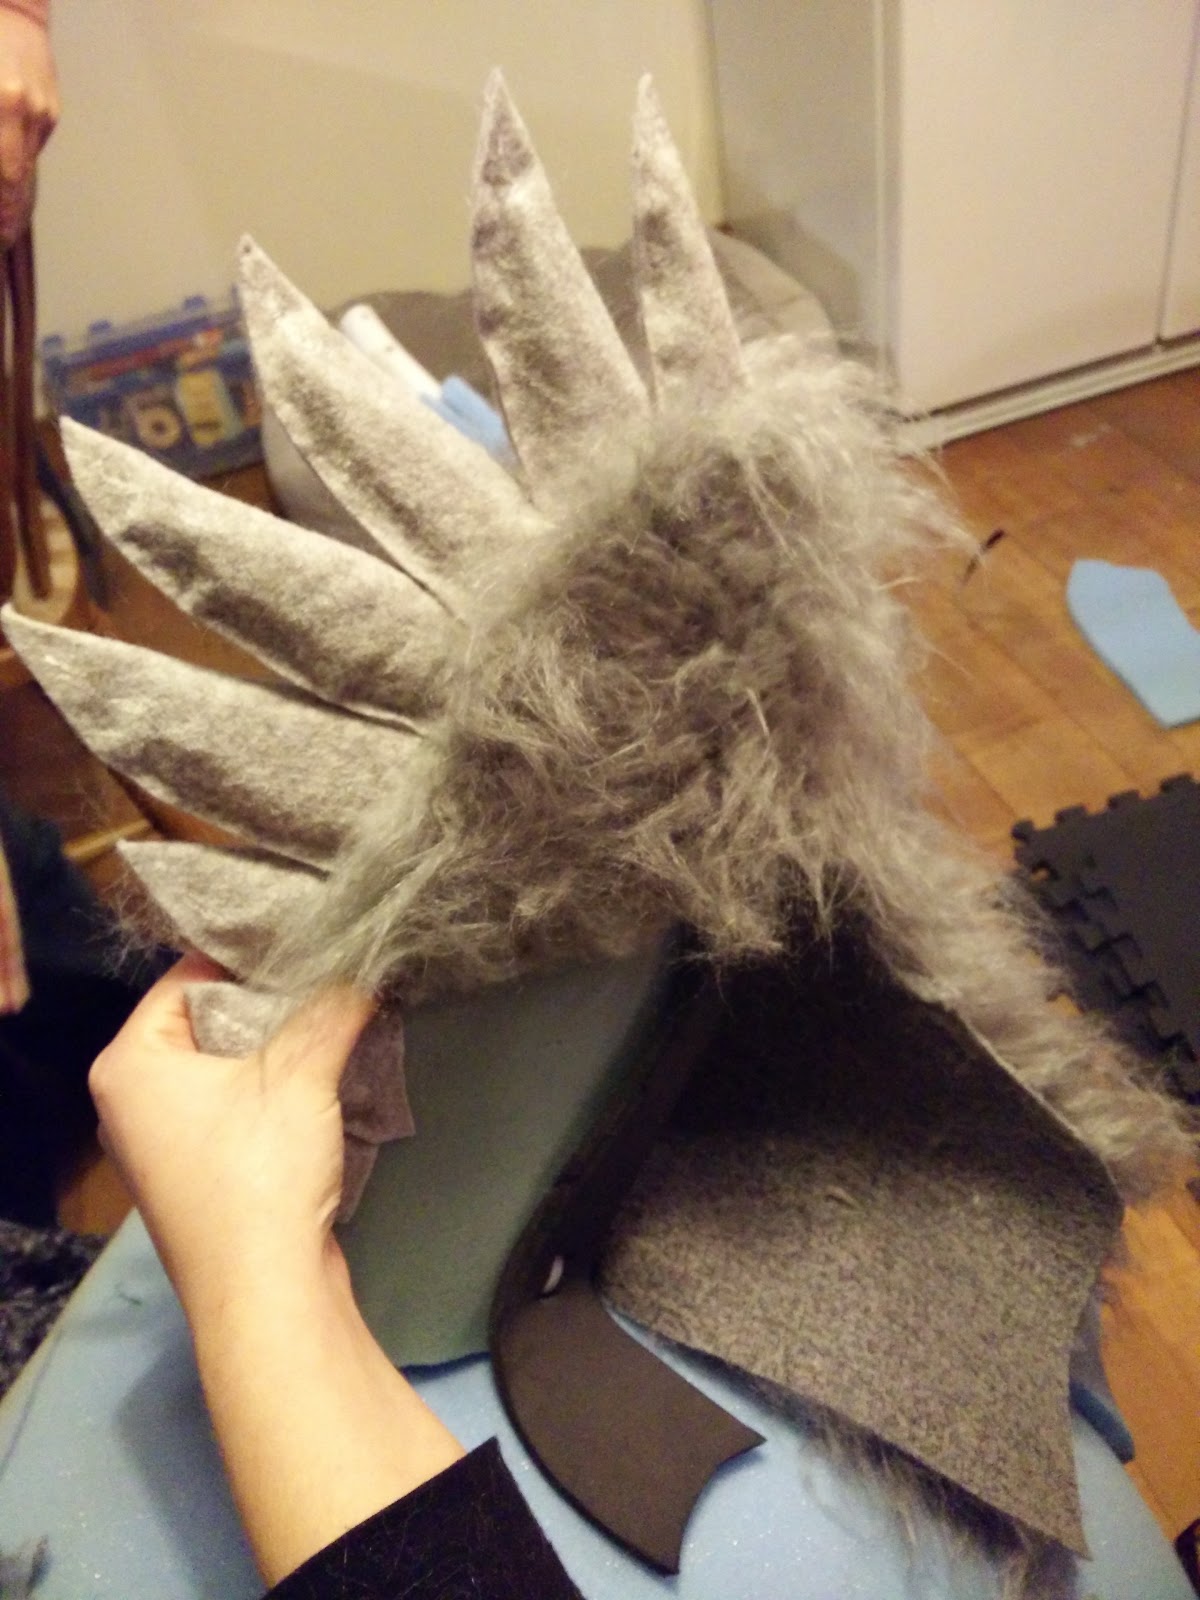
I also added fur to the wings by only making a very loose pattern, and then contouring and cutting the fur around the wing as I folded it. This was fast and neat, however the added weight of the fabric on the light foam wings made them droop slightly. I found a simple solution to this in adding a webbing strap which attached to each wing and then lifted them across the back. A happy side effect of this was that it also provided a very simple way of making the wings flap. I sewed a metal ring onto the webbing so that the user can find the control for the wings easily and animate them without having to look for it - it's easy to find the hard metal amongst all the soft fur and foam.


I painted the feet using dry brushing of acrylic paint, first starting with a warm yellow to add depth and colour to them and then stippling orange for more texture. This is how the feet looked after I finished painting one of them, and before I used a simple ladder stitch to sew the claws on.


Painting the head was a pleasure and I referenced both my concept art and other research images of the Dodo's face and colouration. After sanding and priming the head I started building up layers of tones in warm yellows, oranges and browns to produce an organic, mottled colour palette that compliments the colour of the feet and contrasts pleasantly against the greys and creams of the fur.


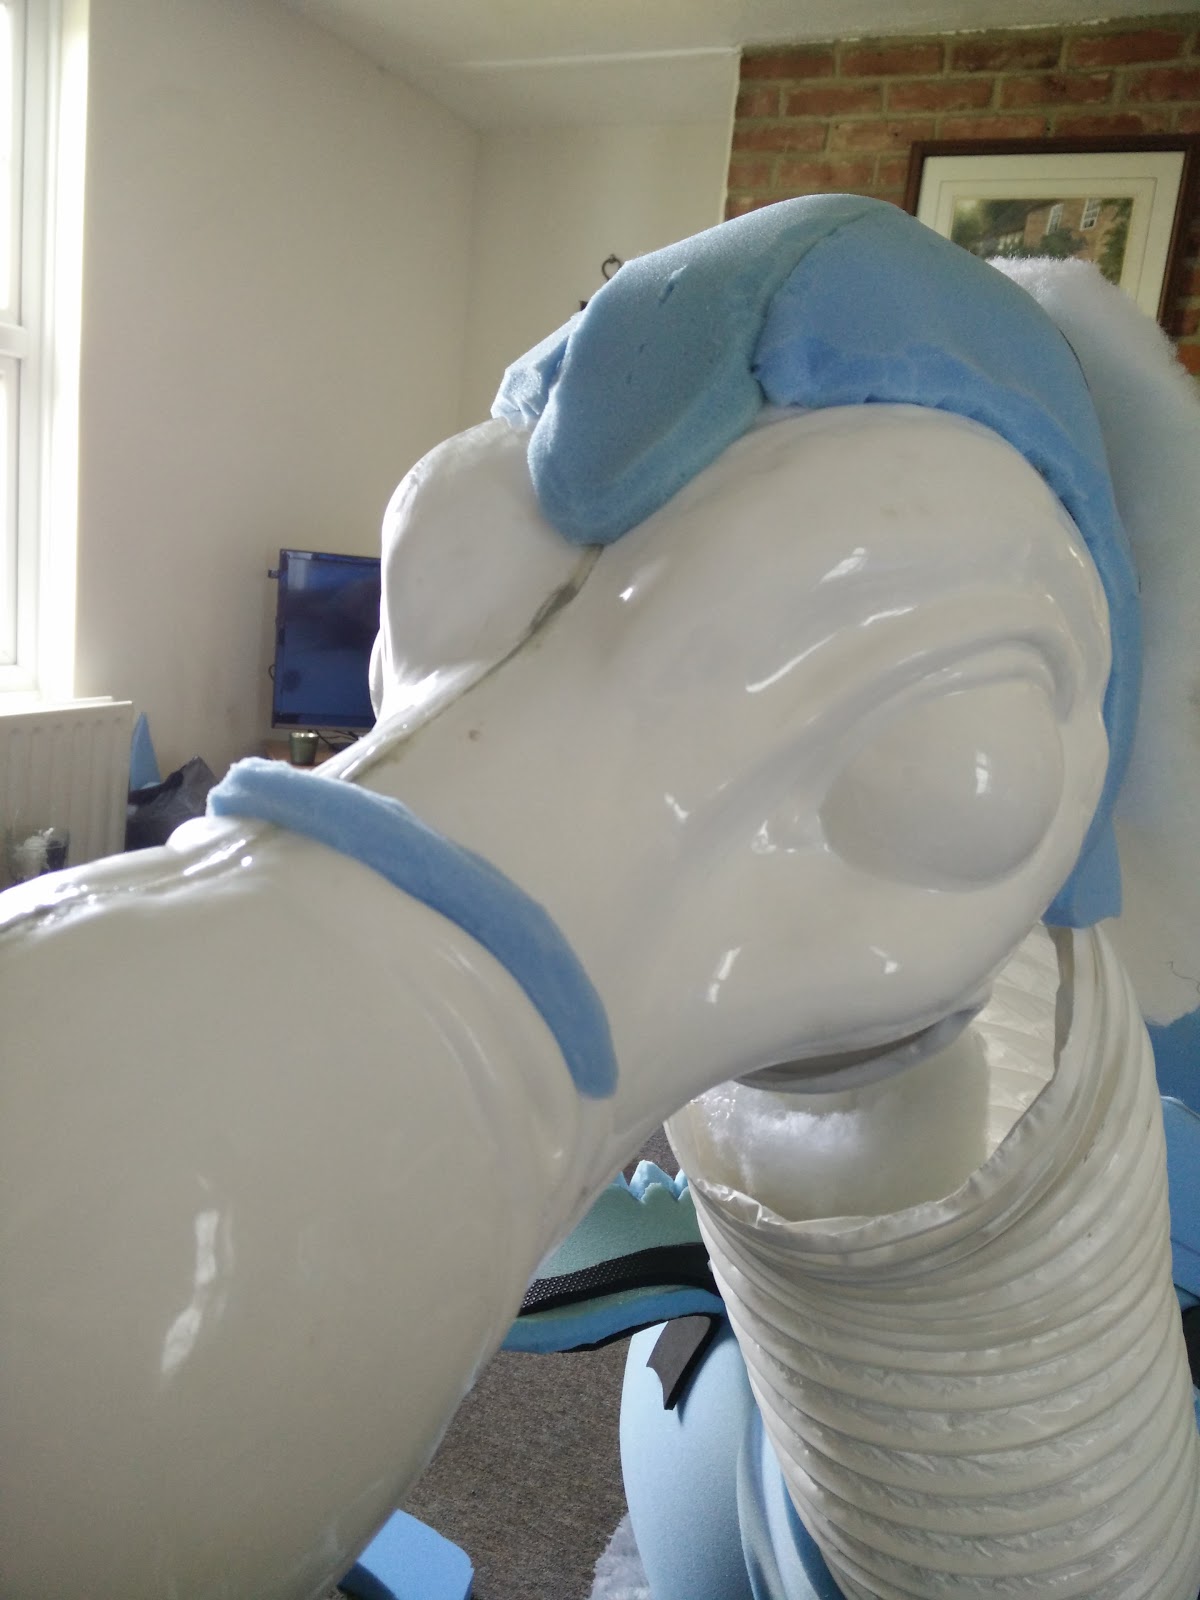
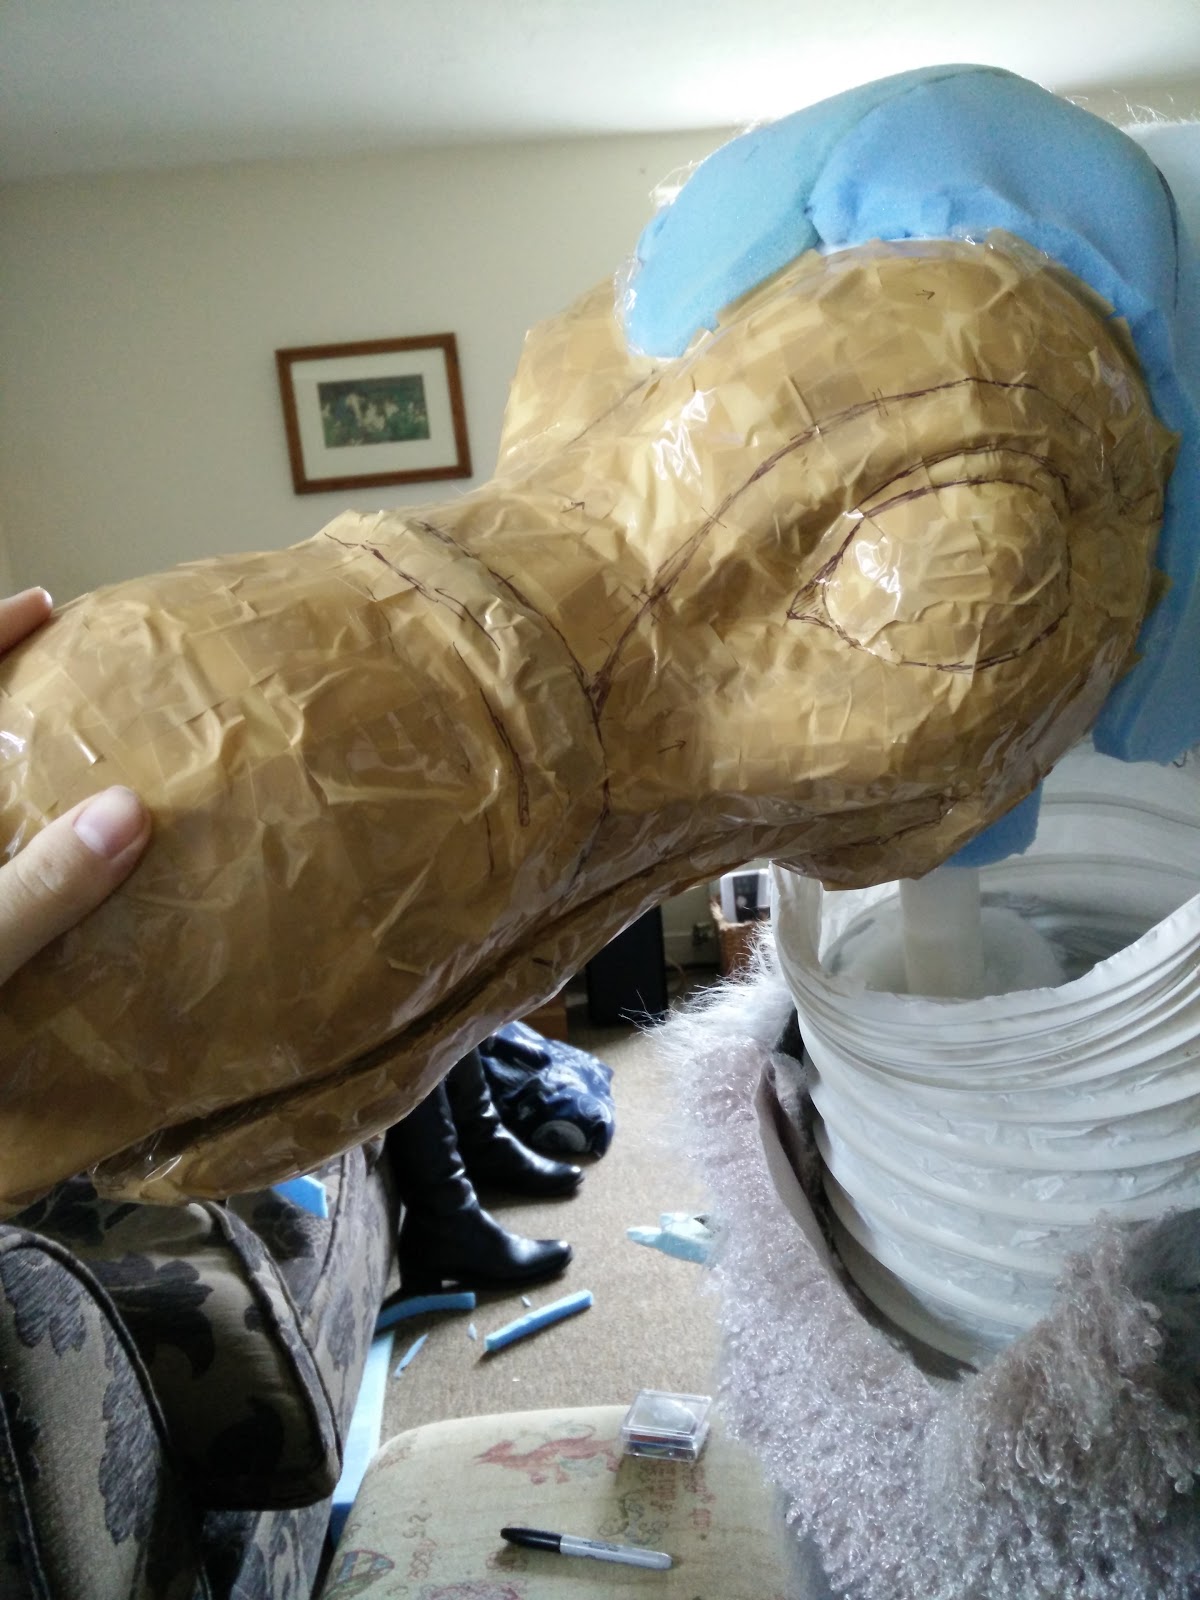
Adding the eyes to the head was really exciting and I heavily referenced the pigeon's eye in it's stylisation, just making the pupil bigger to increase the approachability of the character. You can see what a difference there is between the two images below just from adding a couple of layers of gloss varnish to the eyes - it really brings them alive and makes his personality shine.


 The last photo I have of the big bird before he is moved out to the university campus. It has been a very odd experience having to make a Dodo in a house instead of a workshop, but a lack of suitable clean space needed to do so combined with limited open hours university offers made it favourable for my patterns of working on this project. Thankfully he was very easy to transport, even if he did have to travel in the car with a duvet cover over his head to prevent any scuffs on the journey!

Monday, 2 May 2016

Stirrups, Licker and Airbrush Tests

The stirrups were simply made out of rhenoflex cut from a paper template I drew up, then heated up at the edges. I cut slots for the stirrup leather and then sewed on the nylon strap. I then used spray adhesive to attach the fabric to the outside of the stirrup, and gradually cut and folded pieces of fabric onto the inside, gluing it down with a hot glue gun. I covered up the seam between the stirrup straps and the plastic by gluing on some pieces of velvet strap samples. The finish product looks refined and completed without taking up too much time - it feels like a shortcut that was worth doing, and is still very strong. The seams on the inside of the stirrup will be completely covered by the foot sitting inside of it. 


The tongue was made from a quick three-piece pattern I drafted up that was based on a loosely curved triangle. I didn't want to make a basic two-piece sandwich-style tongue because I wanted it to sit up on it's own a little, giving the bird more personality. The pattern came out really well as you can see below with how it sits in the lower jaw.


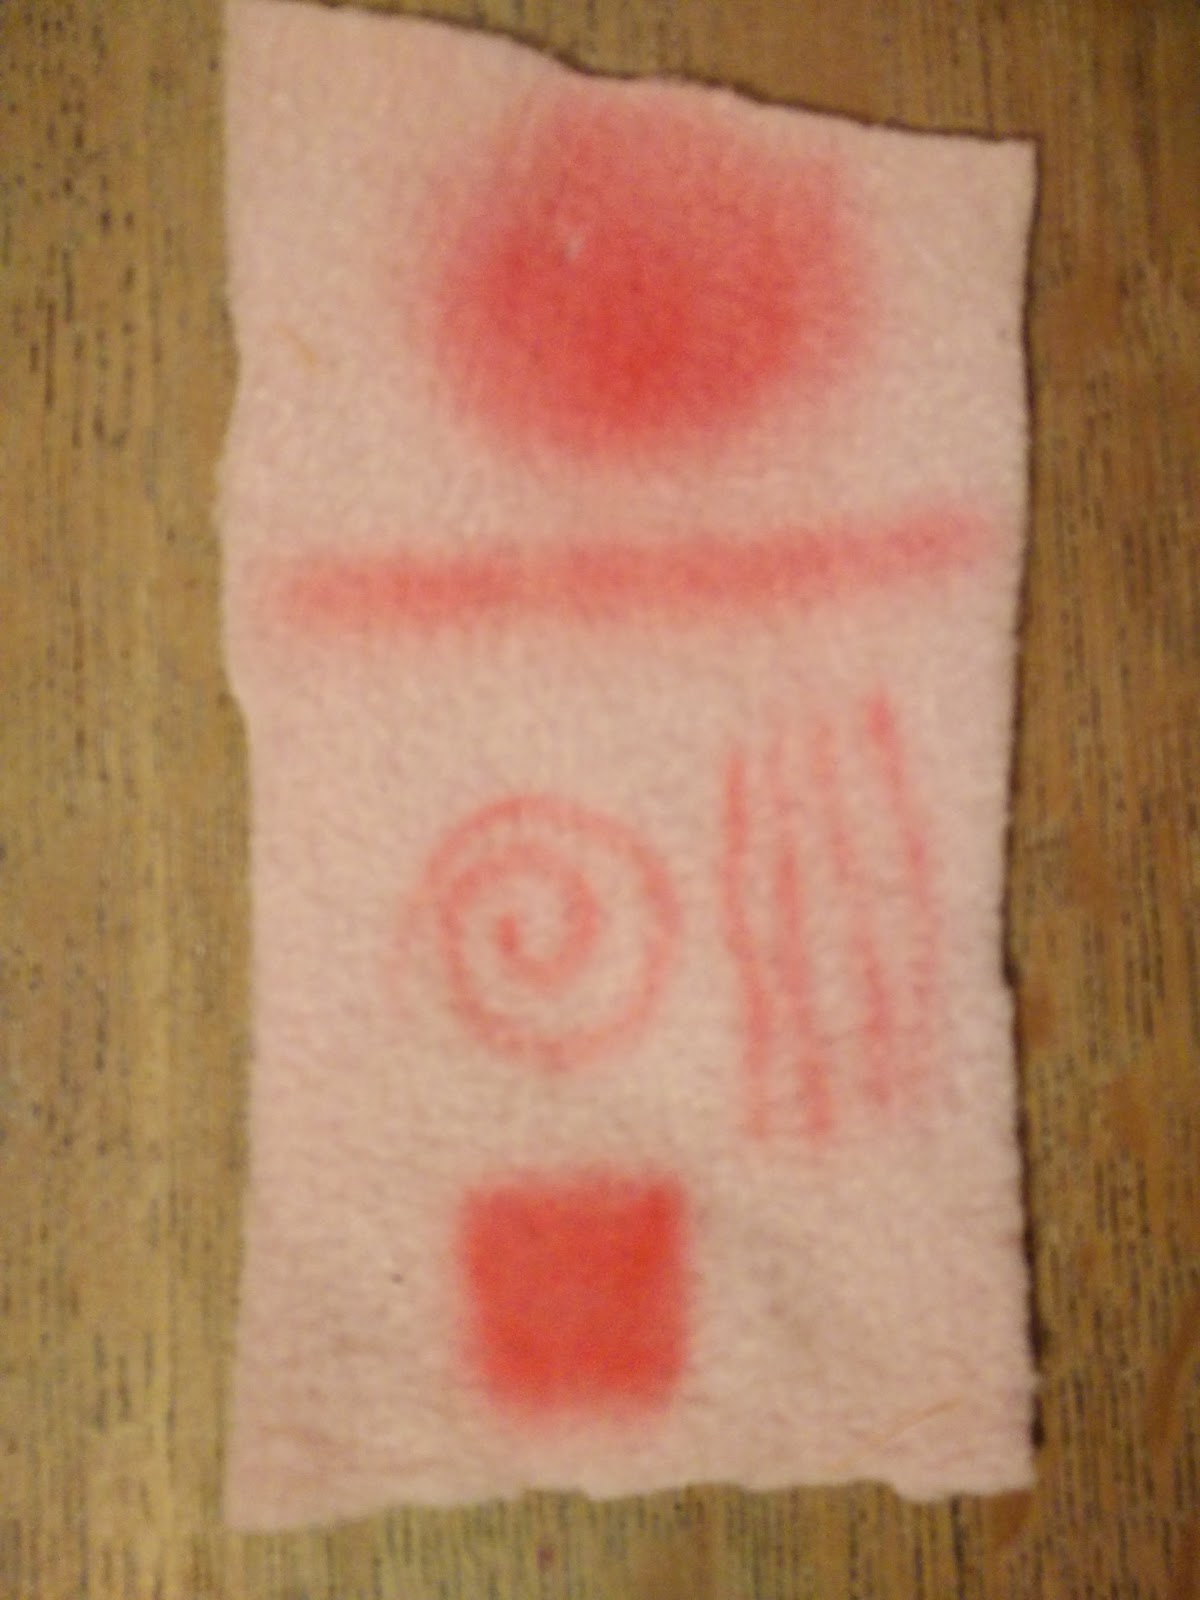
 Before doing any airbrushing I decided to test my possible paints. On the left you can see my artist's ink samples; these inks are made from shellac and pigment. They are softer in colouration. On the right is acrylic paint mixed with water as a thinner. The colours are stronger and more precise. In the image below them, I have poured water over the samples and then wrung them out. As you can see, the 'inks' sample has faded considerably, the definition in the lines has gone entirely. I can imagine these inks running a lot in the rain. The acrylic, however, has held up very well, and doesn't look to have budged at all. I will use acrylics for my airbrushing because of these results; it's also easier to mix up colours with acrylic as well, before adding water to them.


Saturday, 30 April 2016

Decorating the Face

Initially I was planning to cover the head in shaved faux fur, but the clippers I had weren't making a particularly smooth job of trimming the fur down to just looking like 'peach fuzz' instead of actual directional fur. The images below show the face with the strips of upholstery foam I added as wrinkles. It also shows the fur 'cap' I've made out of grey Mongolian faux fur - it's very soft.


These pictures show the process of making the tape pattern of the head to be cut out of faux fur. It is much more time consuming on the head than the the rest of the body was, because I wanted to capture all the small details and creases. However, when I transferred the pattern to fabric and sewed it up, it just didn't look right - the fabric didn't sit flush against the plastic and the clippers hadn't shaved the fur fabric completely smooth. It just didn't look right - I wanted a smooth, soft appearance on the face but the fur just looked baggy and lumpy. I feel this may largely be because in the past I've used fur coverings on upholstery foam shapes, which smooth down under the fur and pleasingly fill out the fabric. I'm frustrated that patterning, cutting and sewing bits for this face didn't work out but at least I've found out with a good amount of time left to find an alternative.


In searching for a solution, I turned to the 'Puppet Maker's Workshop' group on Facebook where I've read a lot of interesting articles and seen a lot of great pieces of work. I got a fantastic answer from puppet maker Mathieu René of Créaturiste, as follows;
"First I'd patch the seam until invisible. Then I'd paint it in a stippling method, several coats to create a very soft surface that will look velvety. Flocking would not last very long, considering how people would love to touch that creature a LOT. Paint would determine the final look. Make sure the paint scheme is simple enough that it will not be difficult to touch up. Make sure the primer and paint bond is very strong, and that you use a very strong varnish on top, that will be easy to clean. Preferably something that resists alcohol. I use rubbing alcohol to clean my puppets before touch-ups. Fuzzier material like synthetic fur would be added near the joint with the neck to create a more subtle transition. Your creature looks like a Dodo. Here's one I built, and often perform at book fairs. He's got the type of finish I'm talking about:"

This fantastic little Dodo puppet is taken to book fairs to perform with, and the stippled face looks fantastic. It has a lot of character to go along with its extreme stylisation, and the texture on the beak is the kind of organic mottling I'd like to try on my Dodo. In order to get to this point, I spent the day removing my foam wrinkles, sanding the face, filling the seam and smoothing with acetone, more sanding - and finally, adding some wrinkles from Milliput two part epoxy putty. I haven't used this material before but it's very pleasing; it is very stiff initially, softening up when evenly mixed and kneaded, and is very pleasant to smooth with water. It takes three hours to set, so I left it overnight and sanded it lightly the morning after.


The next step is priming the face. I cleaned it with methylated spirit to remove any dust and residue, then added two coats of grey plastic primer. Here is the (currently slightly phallic) lower jaw after the first coat of primer. The stippling of the acrylic paint should help to minimise the appearance of any small flaw.


Monday, 25 April 2016

Tape Pattern Photos

Patterning the Dodo is a relatively fast and satisfying process. The bird is wrapped with cling film to stop the tape from sticking to the structure, and is then layered with two to three levels of packing tape or sellotape. The photo below is of the puppet patterned and some markings added, with the legs on to test their placement without the friction of the upholstery foam against them.


To make sure the markings on the puppet are symmetrical and to save on materials, only half of the pattern is fully finished. It also means some pieces can be cut on the fold of the fabric. Each seam marked on the tape pattern has notches marked on it so it's easy to see where they line up and compare to other pieces. Each piece is also lettered for each side, so it's simple to piece the pattern back together.


Here is the puppet with the saddle cloth part of the pattern cut off, so the difference between the saddle part and the body fluff is more visible. I am looking forwards to seeing the different colours and textures of fabric on the puppet, adding a lot of visual interest to the organic shapes.

Sunday, 24 April 2016

Saddle, Legs & Patterning

The two images below show the crotch cut out of the suede flares, and then the trousers on the fake legs sat on the bird. Trying to get them to sit correctly is one of the most challenging parts of this project so far! When I took the pattern for the legs, I sat on a flat chair - so the legs don't naturally fit perfectly with the precise curve of the Dodo's body. However, it is possible to get the whole costume on with the legs at this point, and it is still comfortable.


In the video from my previous post, the neck looks to long and spindly, and I think this is partly because it was the same length the whole way along. To help this, I drafted a simple curved pattern to make a gradient tube for the neck which would blend it more pleasingly into the body. However, the neck still looks a little long so I plan to take a couple of inches off the neck tube so the head sits slightly lower.


I made the pattern for the saddle by measuring the width and height of the saddle back frame, and then drawing out a smooth, curved shape that would cover it. I cut the pattern twice and glued the top seams together, which creates the roll-top look you can see below instead of looking like two bits of 1/2" foam that have been sandwiched together. I also added a 'roll' to the back of the saddle that mimics the padding that would be in a horse saddle. However, a horse's saddle in the 'English' riding style usually has a split down the middle to accommodate for the spine. I tried this with my saddle but it didn't look right; the bird's body is too round to look like the spine needs accommodating for.


As you can see, the Western saddle at the bottom sits much more flush with the horses' back than the English saddle above it. I think this look is more fitting for my project so will take more elements of the design of Western saddles over English ones, especially for parts like the stirrups. Whilst I won't be roping any calves(!) so have no need for the rope holding part of the Western saddle, it has a more textured, relaxed look that suits the happy theme of my bird.


I decided to keep the front of the saddle simple without any hard structure to keep the costume easy to put on; the body hole is quite a tight fit so having a rigid saddle front would result in a lot of difficult shuffling and fidgeting to get it on, and with the legs and harness being a fidget in themselves anything extra would mean the costume would take longer to put on. Upon testing the look of the saddle with the legs, they definitely look better when sat inside the structure, and it helps to hide any odd looks that the legs have at the front and back from where they are parted so wide to sit on the round body of the Dodo, and how they have to also sit around the user's own posterior and legs.


I also began patterning the body. Like earlier processes making patterns for the back of the head, it is a simple two-stage process of laying cling film over the bird to stop the tape from sticking to it, and then taping a layer or two of packing tape, duct tape or sellotape over the top. I am looking forwards to planning out the markings of the bird on the tape, and seeing where the saddle cloth and saddle bags will sit. At this point I may end up making the stirrups a piece of fabric that attaches to the fake legs and not to the saddle itself, so they will still be removable. The fake feet of the legs need to be attached to the stirrups in some way, so they do not fall out and swing around too much.