Sunday, 24 April 2016

Movement Testing & Processes Leading to the Test

This project has been made out of so many parts that it feels most logical to explain each step as I took them, problem solving and all. The picture below is of the partly-assembled ball I made from 1/2" upholstery foam, which will be covered with fur to make the Dodo's tail. It is springy and light, much lighter than a solid ball.


This is a photograph from the long night I spent getting the frame together and secure. Positioning the pieces equally and symmetrically and then drilling through the curved frame before putting a bolt through was a fiddly process but paid off in making a strong and lightweight structure.


 At this point the body was holding up the head quite well but had a movement in it that felt a little unstable. I decided to use 20mmx2mm aluminium bar to brace the saddle back part I had made with some 20mm PVC tube and right angle elbow pieces against the bottom of the neck circle. The saddle I had made before was just far too big to fit in the gap in the body that had been made for the join between the saddle and the frame, and the pipes used in it felt they had been bended to capacity without popping open the pop rivets holding the tight curves together. The solution for this was to simplify the 'hard' parts of the saddle into just this basic, angular back brace. Because the shape was now perfectly symmetrical it also made it a lot easier to attach to the frame and brace efficiently. Now the majority of the saddle shaping will come from making a foam shape, not limited by the shape of the tubes underneath it.


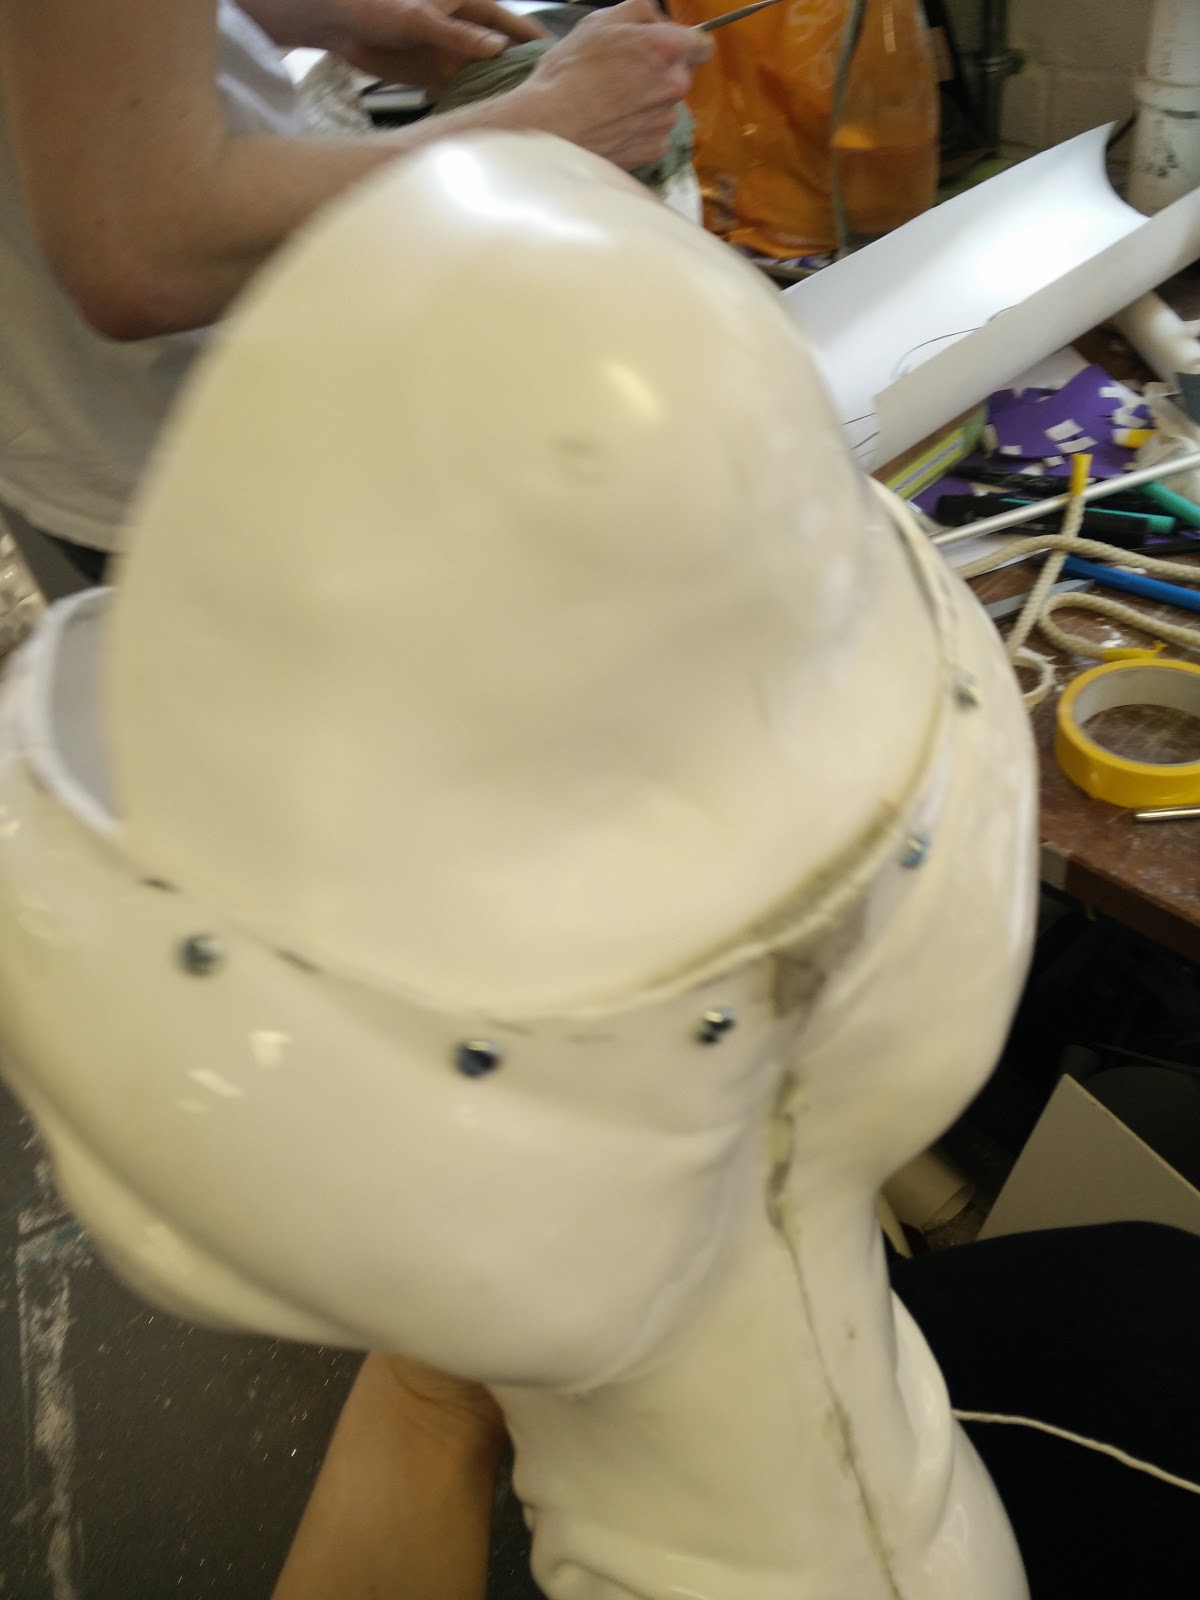
Now that the frame is finished, the shell is test-fitted over the top. The fit seems quite good and self-stabilising, which is promising; any extreme misbalance in the costume would make it difficult to wear. The neck hoop is slightly bigger than I was planning to make it due to the limitations of the pipe bending without the pipe collapsing on itself, so to make up for this I will have to add some extra panels of foam around the neck seams so that they close without being under too much strain and potentially eventually ripping.


At this point the puppet feels fairly well-balanced and is comfortable to wear. I was worried about the weight of the costume but once it is on, the weight is less than that of a fully-packed backpack and is spread without any worrying pressure points. The straps from the camera holder are proving easy to adjust and comfortably padded and were a lucky find - they seem perfect for the purpose. In the image below you can see how I have attached the shell to the PVC frame; plastazote circles with slots cut in them on either side of the foam ensure that the cable ties don't rip the upholstery foam when tension is applied. You can also see that I'm testing the legs on the body; they don't quite sit right and give the illusion of weight currently but this is something I can continue working on between sewing the skin for the bird.


I first made the wings just out of 1" upholstery foam, traced from a paper pattern I drafted and then shaped with scissors. However, they were too floppy for what I was hoping for. to resolve this, I used plastazote in a similar way that I'd done for the 'pucks' which hold the shell onto the body frame. Strips of plastazote were cut in a way similar to the birds bone structure would be, and then cable tied onto both the wings and the body. This gives them a very satisfying wiggle and makes them look light and well attached.


This is a simple tape pattern I drafted to make the back of the head a rounder shape. I first cut the pattern out of 1" foam but it felt too thick and difficult to manipulate, so another was cut out of 1/2" foam. I plan to hot glue it to the back of the head to cover up the machine bolts holding the head cap on, and the lump in the head gap which keeps the head steady on the neck pole.


This short video showing the movement of the puppet has made this whole long process worthwhile - Beef the Dodo already has a lot of personality and I'm really excited to see how he'll look once he's been covered in soft furs and decorated with his saddle, bridle and reins.

Friday, 15 April 2016

Chosen Furs

Reflecting on my concept art and research into the shape, size and colour of the dodo, I found the overriding tones that kept coming up in the scientific images and paintings to be warm shades of grey, with some yellow-orange hints. I wanted to reflect this using more than one colour and texture of fur, as to add visual interest and variation to the puppet. I decided on using fur because it doesn't always have to be the 'traditional', straight texture. Some of the furs I ordered were extremely sparse - so much so that you could easily see whatever was underneath the fabric. I didn't want to have to add another layer of fabric underneath the foam to disguise it as it would add extra weight, so decided to continue the search. I found the following three fabrics - all of which have a fluffy, clumped texture often referred to as 'Mongolian' fur. This represents the 'down'-like texture of the feathers the Dodos apparently had; it seems they didn't really have many, if any well-defined feathers. This makes them look appealingly soft.
The first fabric I chose is to go on the head, neck and feathers, and is very soft and fluffy. I look forwards to it being stroked; it's really appealing and has a nice movement to it. It's a very soft grey and reminds me of the tiny feathers ducklings have when they first hatch.
The second fabric is a longer, more stranded and curly fur. It is an off-white, cream colour and will sit nicely down the front of the neck, offering a contrast in colour. It has a great 'shake' to it. The third fabric is a darker, mottled curl that sits closer to the weave and gives the appearance of larger strands of feathers. It isn't as soft to the touch, but has a pleasant slight shine and will sit well on the back of the bird.
I also plan to use a more 'typical' fur for the tail of the Dodo, rolled up into sections and attached to the orb base of the tail. This should provide a good contrast in texture and also move nicely. If the Dodo looks like it would benefit from them, I may also add some individually made 'accent' feathers around the chest and neck.


Thursday, 14 April 2016

Nodding My Way

Since I had to use a dremel to get the vacuum formed head off of the plaster copies, essentially cutting off the excess back part of the skull of the bird, I realised that I needed to find something to extend the back of the head again in order to have a cap for the end of the neck pipe to sit in, I sculpted a quick form using basic studio clay, in a similar way that I had done for the rest of the head except ensuring it didn't have any undercuts so would come off in one piece this time, and then vacuum formed it with the same 3mm plastic as the head. I then cut the piece into shape, sanded the edges and used the drill and some M4 machine bolts and washers to secure it to the head.


I then drilled two holes in the head with a 9mm drill bit that would allow the rope to fit through it, and two further holes in the PVC neck pipe. This allows the head to move around freely whilst keeping it securely attached to the neck, and is removable and replaceable if needed in time. As you can see below I also used the pipe bender to start forming the rigid aluminium tube 'reins', which will control the movement of the head and hopefully house the controls for the moving lower jaw - however they are very narrow and I'm worried about making holes in them - the head is quite heavy and they might buckle under the weight if used too rigorously when puppeteering the head. I plan to make right angles in the end of the aluminium tube and drill appropriate holes in the face so the tube can be slotted inside and secured whilst still being able to pivot when the head is moved.


I have also taken this short video showing how the head will be positioned on the wearer. The counter balance is really quite considerable at this point even though the head doesn't feel that heavy when held - it's the distance between the base and the head that makes it feel so heavy when carried in this position without being attached to the frame.I look forwards to seeing how it feels in the harness - I'm just hoping that the frame is strong enough to cope with the weight without the pipe buckling.


Body Busting

The arrival of my tailor's mannequin showed two things - that the camera carrying harness would work perfectly for suspending the harness as it is designed to hold two heavy cameras, and that unfortunately the body frame in its current shape would not fit inside the body shell.


At this point the carabiners on the camera harness are temporarily attached to the body frame using cable ties, but these will replaced by something more permanent when the positioning and weight balance of the body with the head has been better figured out.
You can see in the picture below just how much the body frame doesn't fit inside the shell. The two side poles are meant to fit inside and provide an anchor to attach the neck loops to, but they are far too wide. However, if made narrower, the frame wouldn't fit over the wearer's hips. The saddle at this point is very large - but the way I decided to put it together with pop rivets has proven on other test pieces to not cope that well under the pressure of being heated up and bent further. Therefore, the next logical solution is to remove the saddle, fit the frame inside of the body shell and then reconsider the size and shape of the saddle part of the frame - especially as it's intended to act as a back brace to balance out the weight of the neck and head


I removed the cable ties holding the saddle onto the frame and chose to replace it with a straight PVC bar for now, with the ends flattened using the clamp and heat gun, then drilled through and secured with M6 roofing bolts and washers. The frame is now narrower whilst still fitting over the wearer's hips, and the bar sits closely behind the wearer in an appropriate position for holding the back brace of the saddle before foam is added over the top.


The next step in this part of the project is to add in the back brace, cut the front bars shorter and add in the loop which forms the neck base, then attach the neck itself which supports the head. At this point I'm very hopeful that the back brace will prove enough support to take some of the weight of the other parts of the bird, as it's not as light as expected - foam is surprisingly heavy.

Monday, 11 April 2016

Tootsie Pattern

Following on from a previous post on Dodo feet, I went through the process of carving the feet using an electric turkey carving knife and scissors, sticking the pieces together as I went using hot glue. The process is pleasantly fast when using simple paper templates to make things roughly symmetrical, and produces a foot which is light, durable and flexible.


After some final smoothing of the foam sculpting and adding some side panels into the feet, I covered them with masking tape in order to obtain an accurate pattern for cutting the fabric for the feet. Before cutting off the pieces, I marked my plans for where I would put the seams, the direction the light pile should face, where the toenails will later be attached, and where I want to add wrinkles into the design.


As the pieces of pattern tape are removed, they are laid flat on the pattern paper, sticking to it, so seam allowance can be added and then they are cut out. In some pieces that are from particularly rounded areas, dart cuts are made into the pattern in order for it to lay flat. As you can see below I also cut the toe patterns around the areas I wanted to add wrinkles, adding in an extra inch of fabric in the pattern so that when it is being sewn up and stuck onto the foot, it can be wrinkled successfully instead of just smoothly pulled over the top. 


Tuesday, 5 April 2016

Haruka Miyamoto's Junk Dodos

"The idea of this work is based on life cycles in nature.

Haruka rescues materials from the bin and gives them a second life, so they don't end up in landfill.

The impact that humans have on nature can be devastating. The dodo, which became extinct due to human activities, is a symbol of extinction.

Haruka's extinct animal collection is formulated from her childhood memories. Coming from a small village near Hiroshima in Japan, she was privileged enough to grow up with nature all around her: mountains, natural forests and a wide range of animals.
This beautiful environment has changed dramatically over the last 20 years, through the thoughtless actions of humans.
She expresses anger and sadness through her use of the colour black."


 The Dodos appear to be made out of a mixture of scrapped materials such as leather, rubber, wire and plastic. Their proportions offer an appealing contrast between round, chunky bodies and necks and slender, spindly beaks. The texture of the feathers is satisfying as a mixture between the hard edges of the fabric and the softer feathering that's been cut into it. However, the dodos seem to be lacking a certain element of connectivity with the viewer - we are reminded that they are objects, extinct, and merely a representation - through the lack of eyes. Whilst these birds are a more solemn reminder of the fragility of life, they don't offer the playfulness or lighthearted side of interaction that can put a more friendly face to awareness and conservation.


Friday, 1 April 2016

Storyboard: The Release of Beef


The storyboard is drawn and written in such a way that it is palatable to children whilst still being able to be appreciated by adults. I have drawn it in a simple, bold style that makes use of tonal values over colour to allow the emphasis to be on the shapes and movements of the characters. This makes it more legible and easily understood. I used Adobe Photoshop and a graphics tablet with some 'real-style' brushes I downloaded off the internet that give the panels a more interesting texture.